Customize branding for your organization
This is an EAP feature, please reach out to support@visotrust.com to enable it.
Overview
VISO TRUST provides limited brand customization for your organization's collection requests and email communications. Add a logo, icon, and brand color to foster trust in your partnerships and consistency in brand presence.
Logo & icon
Logos are one of the most prominent indicators of your brand and VISO TRUST allows you to update both logo and icon.
- Navigate to Settings in the navigation bar on the left. Navigate to Org Profile, where you'll see a Branding tab.
- In the top right corner, you'll see the Logo & icon section. Here, you can upload your organization's image assets. We accept .png, .jpg, and .gif file types. The maximum upload size is 100kb.
- Logos appear in emails to your vendor (see example below) and ideal dimensions are 400px wide by 150px high.
- Icons appear in the vendor's collection request and on your directory record in the platform (see example below). Ideal dimensions are 32px wide by 32px high.
- Logo and icon changes are saved automatically, and confirmed with a toast message at the top of the page.
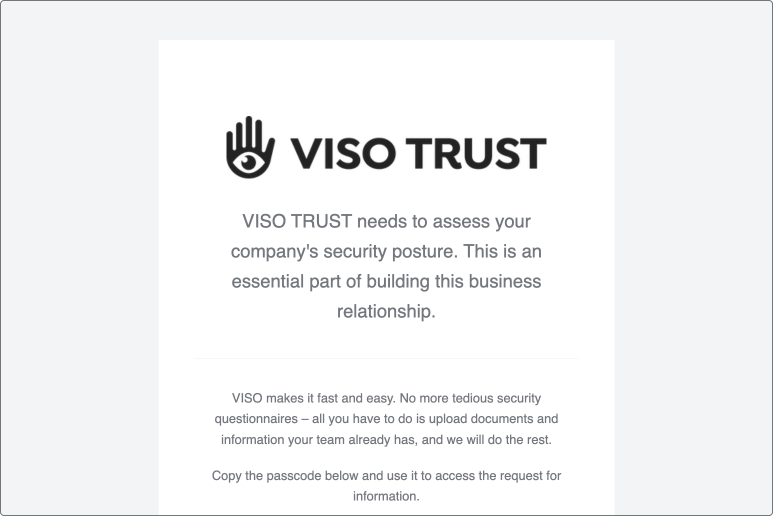
An example of an email notification featuring a customized logo.

An example of the directory record that features a custom logo.
Color
VISO TRUST allows you to upduate a color to represent your organization. The color will display in your organization's collection requests and email communications .
Check the preview pane at the bottom of the page to try out your color before you save it to your organization settings.
- Navigate to Settings in the navigation bar on the left. Navigate to Org Profile, where you'll see a Branding tab.
- In the top left corner of the page, you'll see the Brand color section.
- Use the "Choose color" button to open a color picker. You will have an assortment of default colors, along with the ability to pick your own custom color. To choose a custom color use the down arrow button, which opens the color picker.
- Preview your changes in pane at the bottom of the page. You may toggle between Vendor collection and Email preview modes. This preview demonstrates the example user interface and email your vendor will receive to complete their assessments.
- Once you preview preview, you have the ability to Save updates.